
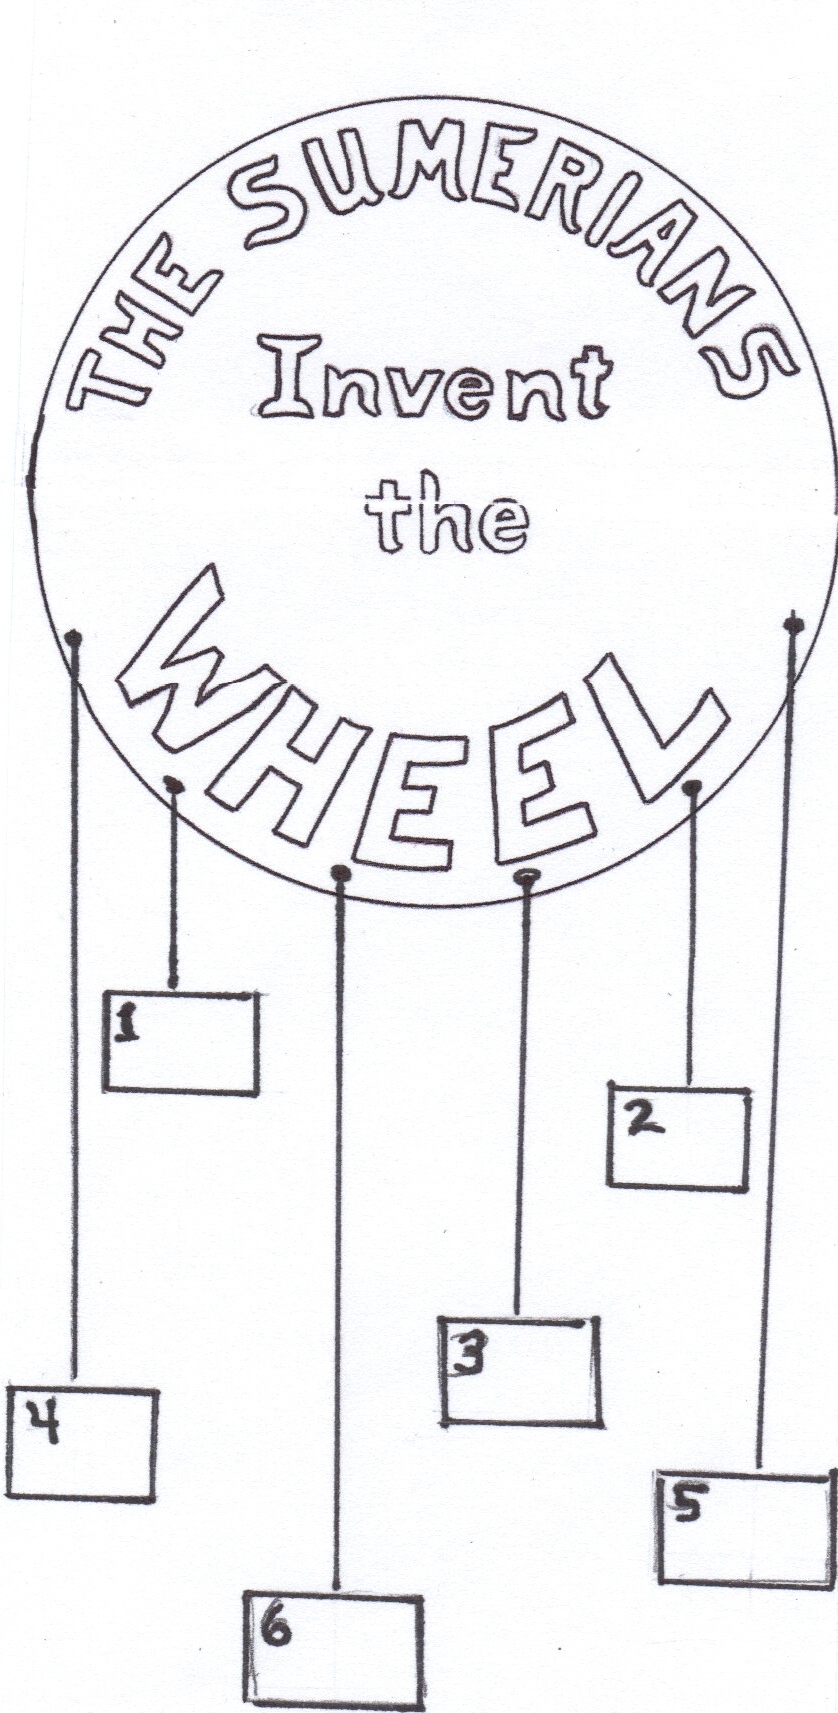
We will be putting together a hanging mobile that shows how wheel was invented. Your mobile should look like this picture when it is completed:
Materials
You will need the following items:
- Kids’ Blog entitled “The Invention of the Wheel: How the Ancient Sumerians Got Humanity Got Rollin’!”
- a sheet of white posterboard
- scissors
- a ball of string (or twine or thick thread)
- a ruler
- glue
- old magazines or catalogs
- a 1 ½” plastic ring or hook for hanging your mobile
Instructions
Before you begin, flip through the magazines and catalogs to find pictures of different kinds of wheels. These can be cars, trucks, tractors, wagons, and airplanes. Also look for other uses of wheels—like a rolling pin, a vacuum cleaner, gears in machines and clocks, spools of thread, roller skates, bikes, toys that use wheels and gears and any other objects that are wheel-shaped. Cut out 8-10 pictures and put them in an envelope.
Preparing the Strings:
- Cut seven lengths of string: two 7” long, two 9” long, two 11” long and one 12” long.
- Put the 12” string aside. You will use this later.
The Rectangular Pictures:
- Click here to print out “The Stages of the Wheel”. Color in all of the pictures. Notice that there are two of each.
- Cut out each rectangular picture.
- Trace one of the rectangles onto the posterboard and cut it out. Use this for a pattern to trace five more.
- Cut out the five rectangles. You should have six all together.
- Ask an adult to help you poke a hole through the top of each posterboard piece (in the center, about ½”from the top edge).
- Attach a string to each piece of posterboard and tie it with a double knot. (Do not use the 12” string yet.)
- Glue the picture of the “Roller” onto one of the posterboard pieces. It will cover the hole. That’s okay. When it is dry, glue the matching picture onto the back. Make sure that both pictures are facing the same way. (Do not accidentally glue one up-side down.) Do the same for the other five stages of the wheel.
The Top of your Mobile:
- Click here to print out the top of your mobile.
- Color in the letters and cut out the circle.
- Now carefully trace the circle onto a piece of posterboard and cut out the posterboard circle.
- Ask an adult to make a hole in the top of the circle for hanging the mobile.
- Slide the 12” string through the hole and double knot it. Tie the other end of the string to the pastic ring or hook.
- Glue the paper circle onto the posterboard circle.
- As soon as the glue is dry, flip the posterboard circle over and arrange your magazine pictures to form a “collage” on the back. Try not to leave any white spaces between the pictures. Leave enough room to along the edge to write your name.
- When you are happy with the design of your collage, glue each magazine picture down.
Putting your Mobile Together:
- Loosely attach the strings of each of the pictures to the circle piece. Adjust the length of the strings so that the pictures can’t bump each other when the mobile is hung up. Now, tie the strings with double knots.
- Congratulations! You are done. Now, find a great place to hang your mobile!


Pingback: KIDS’ BLOG! The Invention of the Wheel: How the Ancient Sumerians Got Humanity Rollin’! | AntiquityNOW
Pingback: Our Most Popular Post of All Time: The Invention of the Wheel | AntiquityNOW